By Tim
November 12, 2026
Dealing with underground plumbing problems used to mean tearing up your entire yard and dealing with a massive mess for days. Property owners dreaded fixing sewer lines because of the extensive excavation required. However, modern plumbing technology has introduced a better alternative that eliminates destructive digging. This innovative approach is known as trenchless pipe repair, and it has revolutionized how professionals handle plumbing issues. When you opt for this modern method, you save your lawn and sanity while achieving a permanent fix. If you have never experienced this process before, you might be wondering exactly how it works. Knowing the steps involved helps you feel more comfortable when hiring professionals. By walking through the entire procedure from start to finish, you will see exactly why this non-invasive method has become the preferred choice for property managers everywhere.
Understanding the Trenchless Approach
Before diving into the specific steps of the procedure, it is important to grasp why this technique has gained such widespread popularity. Traditional excavation methods require heavy machinery to dig large trenches, which ruins any structures or plants above the pipe. The modern alternative bypasses all of this destruction by using existing access points. According to WifiTalents, the use of trenchless pipe repair techniques accounts for nearly 30% of all underground pipe repairs. This significant adoption rate highlights how effective and reliable the method has proven to be. Because technicians do not need to dig massive holes, the overall project timeline shrinks drastically, allowing you to return to your normal daily routine much faster. Furthermore, minimizing the amount of heavy machinery makes the process much more environmentally friendly. The lack of excavation means you do not have to worry about the secondary costs of replacing your driveway or replanting your garden.
Conducting the Initial Assessment
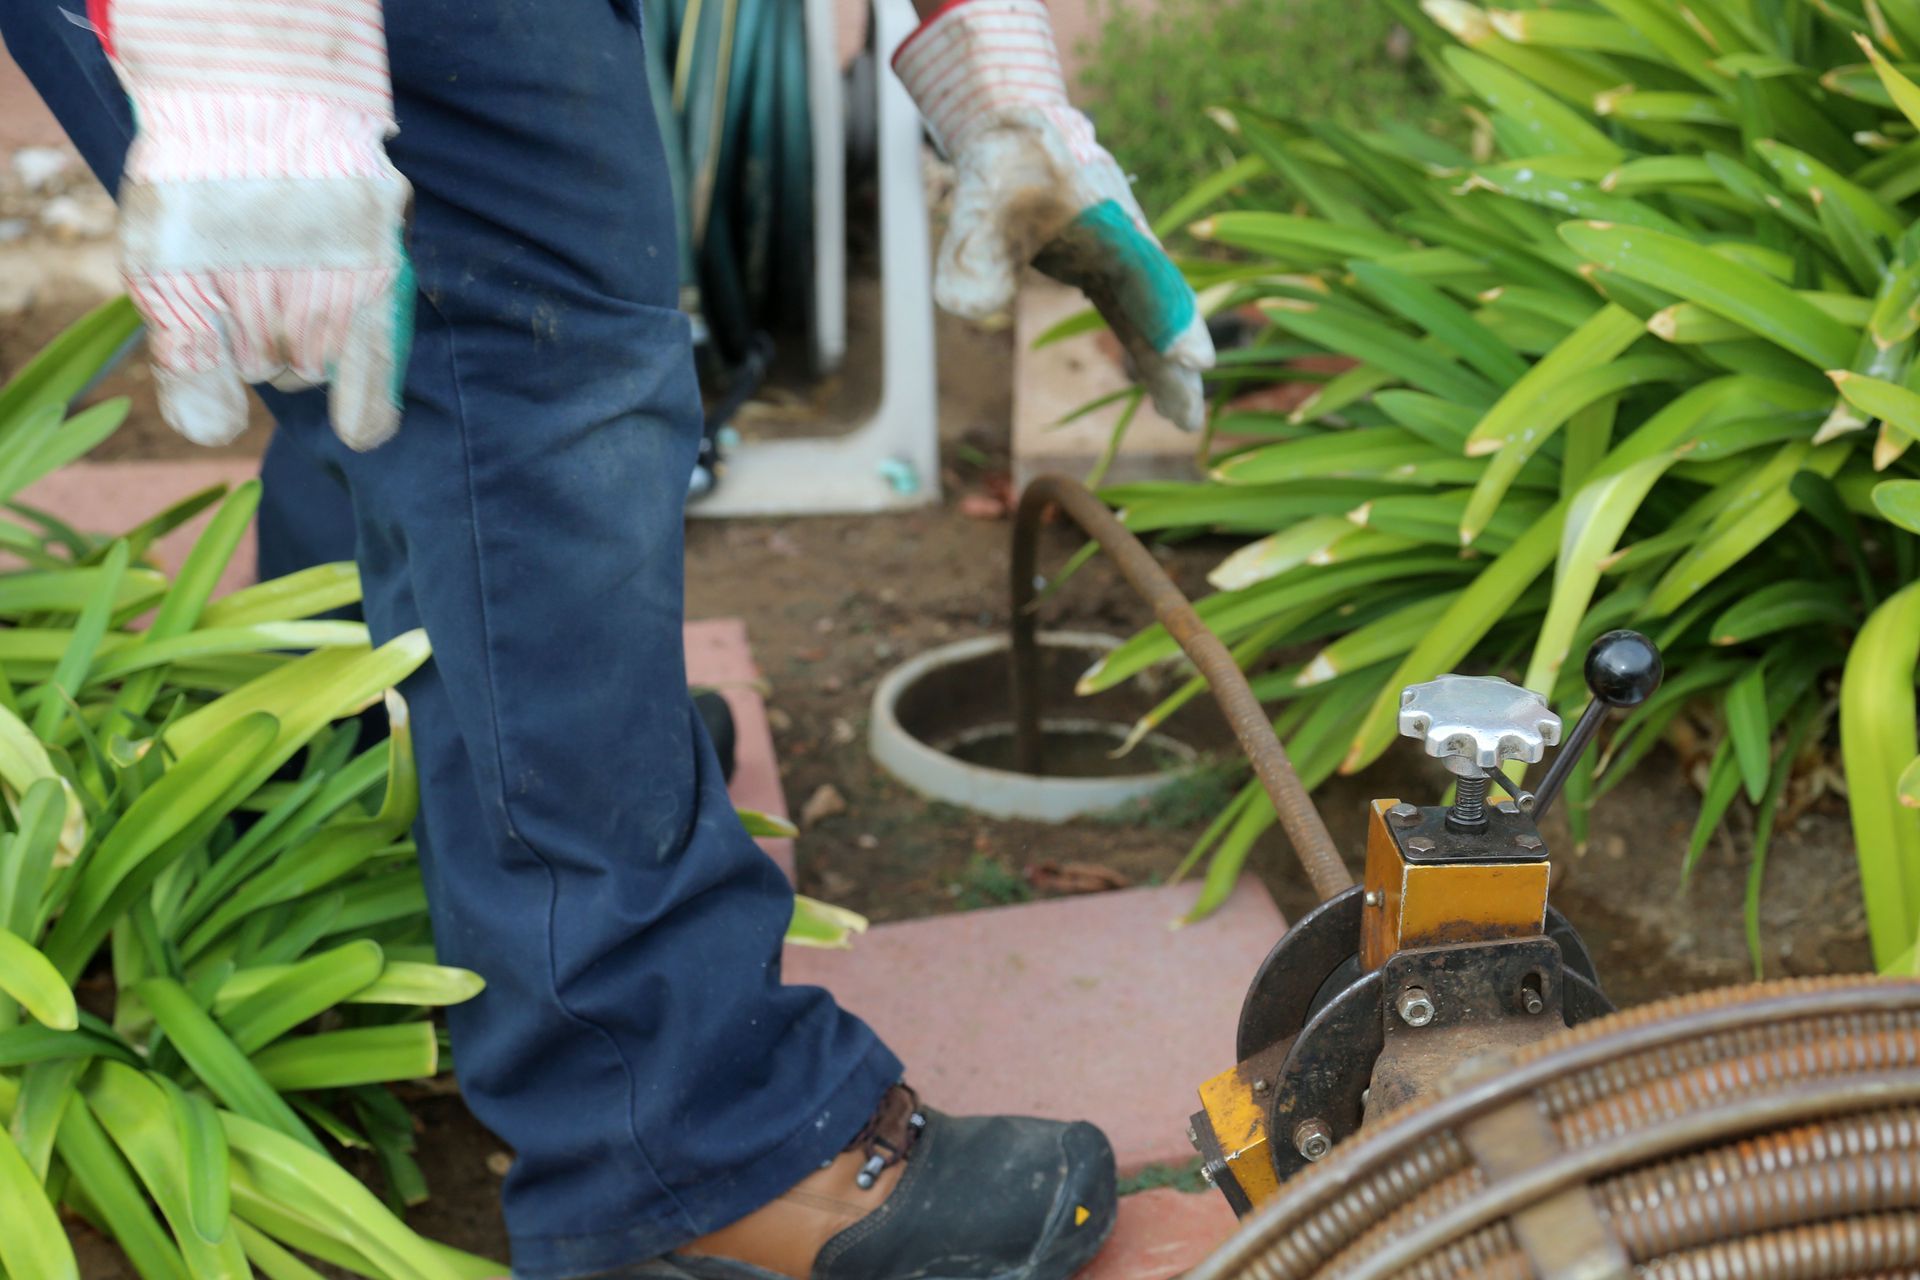
Every successful plumbing project must begin with a thorough investigation of the problem at hand. When the technicians arrive at your property, their first priority is to figure out exactly what is going on inside your underground lines without digging them up. To achieve this, they utilize high-definition waterproof cameras attached to flexible fiber-optic cables. This equipment is carefully fed into your plumbing system through an existing cleanout point. As the camera travels through the dark pipes, it sends a live video feed back to a monitor. This real-time visual inspection allows the team to pinpoint the exact location of the damage and identify the root cause of the problem. Whether the issue stems from invasive tree roots, severe corrosion, or shifting soil, the camera will reveal the truth. Based on these visual findings, the technicians can confirm if trenchless pipe repair is the appropriate solution for your specific situation. This diagnostic phase ensures that subsequent work targets the right area.
Cleaning the Existing Pipeline
Once the assessment confirms that a non-invasive fix is viable, the next step involves thoroughly preparing the interior of the damaged line. You cannot simply apply a new lining over layers of grime and debris, as this would prevent the materials from adhering properly. Therefore, the technicians must meticulously clean the inner walls before moving forward with the trenchless pipe repair process. To achieve a pristine surface, professionals typically rely on a highly effective technique known as hydro jetting. This method uses highly pressurized water streams to blast away years of accumulated sludge, mineral deposits, and stubborn tree roots. The powerful water jets scour the interior walls, leaving them smooth and clear of obstructions. In some cases, specialized mechanical descaling tools might be used to grind away severe mineral buildup. After the intensive cleaning session is complete, the team will perform another quick camera inspection to verify that the pipe is fully prepared to receive the new lining material.
Preparing the Repair Materials
With the host pipe completely cleaned, the focus shifts above ground to the preparation of the new structural materials. The most common technique used in this industry essentially creates a highly durable pipe directly inside the old, failing one. To make this happen, the technicians must measure the exact length and diameter of the section that needs fixing. They then cut a flexible, felt-like tube to those precise dimensions. The next crucial phase involves saturating this flexible tube with a specialized epoxy resin. This liquid resin is carefully poured into the felt liner, and heavy rollers are used to distribute the epoxy evenly throughout the material. This saturation process must be done with extreme precision, as the epoxy is the active ingredient that will eventually harden and form the new structural walls of your plumbing. The team works diligently to ensure the resin-soaked liner is perfectly calibrated for your specific trenchless pipe repair project before it is transported for installation.
Installing the Trenchless Liner
The installation phase is where the true magic of this modern plumbing technique takes place. The technicians carefully feed the resin-saturated liner into the access point and guide it precisely to the damaged section of the pipeline. Depending on the specific equipment being used, the liner is either pulled into place or inverted into the pipe using pressurized air. Once the flexible tube is perfectly positioned, a calibration bladder inside the liner is inflated. This intense pressure forces the epoxy-soaked felt tightly against the interior walls of the old pipe, completely sealing over any cracks or deteriorated sections. While the pressure is maintained, the epoxy resin needs time to cure and harden. Professionals often accelerate this curing process by circulating hot water or ultraviolet light through the inflated bladder. As the resin cures, it transforms from a liquid state into a solid structural pipe. The success of any trenchless pipe repair relies heavily on this flawless installation phase.
Performing the Final Inspection
After the curing process is entirely complete and the epoxy has hardened into a solid state, the technicians will deflate and remove the internal calibration bladder. At this point, you essentially have a brand-new pipe resting perfectly inside the shell of your old one. However, the job is not officially done until the team can visually verify the quality of their work. To do this, they will once again deploy their high-definition camera into the line. They will thoroughly inspect the newly lined section to ensure the resin cured evenly and that there are no structural imperfections. This final walkthrough guarantees that the flow capacity has been restored and that the line is ready to handle years of flawless usage. Because the new interior surface is exceptionally smooth, you can often expect an increase in flow efficiency. Once the visual verification is complete, the technicians will seal up the access points and leave your property perfectly intact.
Dealing with compromised underground plumbing no longer has to be a stressful, destructive ordeal that ruins your beautiful landscaping. By understanding the meticulous steps involved in this modern restoration process, you can clearly see why it has become the standard for handling severe plumbing failures. From the initial camera diagnosis to the precise installation of the epoxy resin liner, every single phase is designed to provide a permanent structural solution with minimal surface disruption. When you need a reliable and long-lasting trenchless pipe repair, you deserve a team that prioritizes the integrity of your property while delivering top-tier results. Protecting your home and resolving complex drainage issues requires specialized expertise and the right advanced technology. Reach out to the professionals at BD Environmental Group today to learn more about how this non-invasive method can restore your plumbing system efficiently.